How to Use a School Supplies Set Clipart Vector for Creative Projects
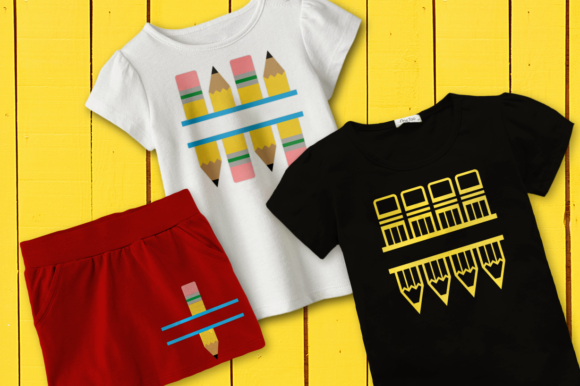
Whether you are a small business owner designing product packaging, a teacher preparing classroom materials, a blogger creating social media graphics, or a hobbyist working on scrapbooking, the right visual assets can save hours of work and improve your final output. A School Supplies Set Clipart Vector offers a ready-to-use collection of classic back-to-school elements—apples, pencils, erasers, rulers, books, composition notebooks, paper clips, and playful doodles—arranged in a cohesive style. More than just a set of images, this type of asset becomes a building block in your broader creative process, from planning to production.
Understanding the Asset and What’s Included
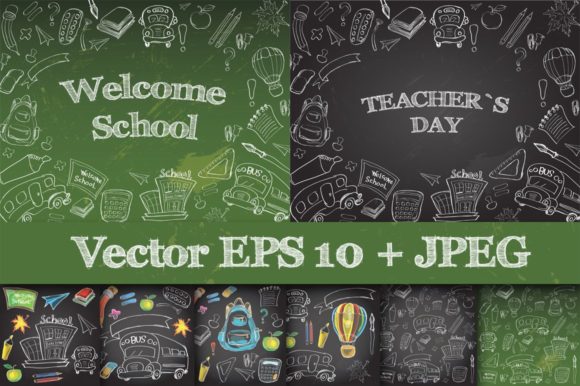
Before integrating any resource into a workflow, it helps to know exactly what you are working with. This particular set comes with eight high-resolution JPEG files at 5000×5000 pixels (300 dpi) that are ready for immediate use in most applications. Two additional JPEG files feature blackboard backgrounds, adding texture and context without extra compositing work. For those who need flexibility and scalability, the package also includes eight EPS-10 vector files containing all individual elements, plus two EPS-10 files with the blackboard backgrounds. The EPS format is critical because it allows you to scale every shape and line to any size without losing quality, and you can edit colors, remove elements, or combine them freely in vector editing software.
This combination of raster and vector formats means you can jump directly into a project without spending time recreating common symbols. The JPEGs are ideal for quick layouts, mockups, or web use, while the EPS files give you full control for professional print jobs or large-format applications. Having both ensures you are prepared for whatever output your workflow demands—whether it is a digital invitation or a fabric print for a custom tote bag.
Where This Clipart Fits in Your Workflow
The real value of a School Supplies Set Clipart Vector emerges when you consider the stages of a project. In the planning phase, you can browse the elements to brainstorm themes, color palettes, and layout ideas. For example, if you are designing a back-to-school blog template, scanning through the doodles of pencils, books, and apples helps you decide whether you want a minimal, lined composition or a dense, playful arrangement. This upfront visual thinking reduces back-and-forth later.
During the execution phase, the clipart functions as a plug-and-play component. You can open an EPS file in Adobe Illustrator, Canva (via upload), or Affinity Designer, and start positioning elements on your canvas. Because everything is already vector, you can group, rotate, recolor, and scale each piece without searching for additional assets. This is where the blackboard background JPEGs become useful—they serve as instant backdrops for social media posts or digital presentations, saving you the trouble of building a chalkboard texture from scratch.
After a project is complete, these same files become reusable for future work. You can archive the EPS files and pull individual doodles for other tasks: a pencil icon for a website button, an apple for a nutrition flyer, a ruler for a geometry worksheet. The set effectively becomes a small library of standardized symbols that maintain visual consistency across your brand or personal style.
Interacting with Other Tools, Platforms, and Decisions
Any clipart set is only as useful as its compatibility with your existing workflow. The EPS-10 format is widely supported in professional design software like Adobe Illustrator, CorelDRAW, and Inkscape (free). If you work in Canva, you can import the JPEG versions or convert the EPS to PNG using an online tool. For print-on-demand platforms such as Printful or Redbubble, the 5000×5000 pixel JPEGs provide sufficient resolution for mugs, phone cases, and even wrapping paper when the print area is under 18 inches. The 300 dpi specification is crucial for sharp prints, especially when the file is used at a 1:1 ratio or resized downward.
When integrating the set into a scrapbooking project or homemade card, consider the medium. For digital scrapbooking, you can drag the JPEGs directly into software like Photoshop Elements and use the blackboard backgrounds as layers. For physical scrapbooking, you might print selected elements on matte paper and cut them out. The vector origin means you can enlarge a specific doodle—like a composition notebook—to fill a 5×7 card without pixelation, something a standard web image cannot do.
A useful decision point occurs when you choose between the JPEG and EPS versions for a particular task. If you need to edit the color of an apple from red to green or change the thickness of a pencil line, use the EPS. If you need a quick, high-resolution background with no editing, the JPEG is faster. Many experienced designers keep a master EPS file with all elements grouped by category (school supplies, science symbols, children at play) and export individual PNGs as needed for non-vector environments.
Invitations and Party Decorations
For a back-to-school party or a teacher appreciation event, start by opening the blackboard background JPEG as your base. Layer a few large doodles (apple, book, ruler) in the corners using transparent PNGs exported from the EPS. Keep the text area clear. Because the elements are vector-sourced, you can resize them precisely—try a ruler at 10% for a header accent and an apple at 60% as a focal point. Print at 300 dpi on card stock; the white margins around the blackboard give you a clean cut line.
Blog Templates and Social Media Graphics
Bloggers often need a cohesive set of icons for category headers or sidebar widgets. Import the EPS file into your design tool and extract individual items like the paper clip, eraser, or science flask. Assign uniform colors that match your brand—for example, navy blue for pencils and warm yellow for composition notebooks. Export as SVG or PNG-24 for web use. The advantage here is consistency: every icon shares the same line style and shading, so your blog looks polished without hours of custom illustration.
Classroom Materials and Educational Projects
Teachers can use the JPEG files to create wall posters, flashcards, or worksheets. The high resolution means a single apple doodle can be printed at A3 size with no quality loss. For a word wall, print multiple elements, laminate them, and attach magnetic strips. The EPS files allow you to remove the background and overlay text—for instance, place a “Read” doodle beside a library corner sign. Because the set includes science-themed icons, you can also use them for STEAM bulletin boards.
Mug, Phone Case, and Wrapping Paper
When producing merchandise, you must consider the print area and method. For a mug, the standard print area is 8×8 inches; the 5000×5000 pixel JPEG gives you more than enough resolution (about 625 dpi at that size). Place a cluster of doodles—pencil, eraser, ruler, apple—inside that area, ensuring at least 0.25 inches of bleed. For wrapping paper, use a repeating pattern. Open the EPS file in Illustrator, arrange elements into a tile, and export as a 300 dpi PDF. The repeat will be seamless because the vectors snap to grid.
Organizing the Files for Long-Term Use
An important but often overlooked part of any asset workflow is file management. Because this set includes ten JPEGs and ten EPS files, taking a few minutes to structure them will save time later. Create a folder labeled “School Supplies Clipart” with subfolders: “EPS – editable,” “JPEG – raster backgrounds,” “JPEG – elements.” Rename each file with descriptive keywords like “apple_red_eps10” or “blackboard_chalkboard_jpeg.” If you use a digital asset manager (DAM) or a simple tagging system in your operating system, add tags like “back to school,” “education,” “doodle,” “vector.” This preparation pays off when you need to find a specific ruler icon six months later.
For those who work across multiple projects, consider building a master template file. Import the EPS-10 file that contains all elements into a new document. Group items by category (school supplies, science, play, childhood, reading) and lock the background layer. Save this as a reusable template in your design software. Every new project can start from this file, allowing you to copy and paste items without needing to open the original ZIP archive again.
Quality Control and Output Considerations
Even with a high-quality clipart set, the final result depends on how you handle the transition from digital file to physical or digital output. For print projects, always check that your document color mode is CMYK if your printer requires it (the JPEGs are likely in RGB, so convert if necessary). The EPS files may be in RGB or CMYK depending on how they were created; check the swatches and convert to your working color space. When scaling vector elements, avoid distortion by holding the shift key to maintain proportions. For raster JPEGs, scaling up beyond 100% can cause softening, so use the JPEGs at their original size or smaller.
Testing a single print before committing to a full run is a standard quality‑control step. Print a small proof of the blackboard background with a few doodles on your home printer or a local print shop. Check for color fidelity and sharpness. Because the JPEGs are 5000×5000 at 300 dpi, they are designed for crisp output, but paper choice, ink saturation, and printer calibration all play a role. The vector EPS files eliminate most resolution concerns, making them the safer choice for large products like posters or floor decals.
Observations on the Blackboard Style and Broader Applications
The aesthetic of the School Supplies Set Clipart Vector leans on a blackboard or chalkboard theme, which has remained popular in education, food packaging, and lifestyle branding for years. The doodles are hand-drawn in style, giving them a friendly, approachable character. This look works particularly well for content aimed at children’s products, classroom resources, or nostalgic marketing. Yet the style is versatile enough to pair with modern typography and clean layouts. For example, using the blackboard background as a hero image for a “back to school” sale email can instantly convey the theme without extra design effort.
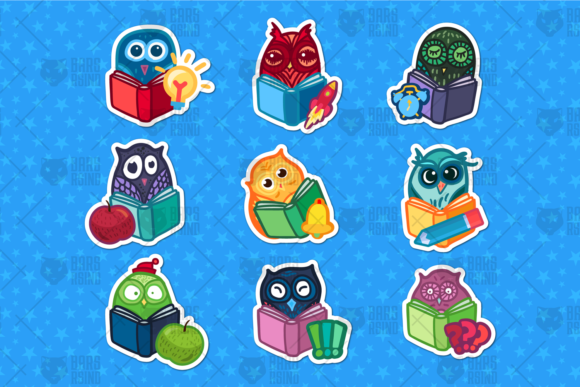
The inclusion of science and reading icons broadens the set beyond traditional school supplies. A flask, books, and a composition notebook can represent subjects or categories in a library, museum, or educational app interface. If you are a freelance instructional designer, these elements can be dropped into a learning management system banner or a course thumbnail. The “play” and “childhood” doodles give you options for summer camp flyers or daycare materials. When you treat the set as a resource of community-minded symbols—not just classroom icons—you unlock more value from the same files.
By understanding the format differences, planning how the clipart fits into your design stages, and organizing the files for reuse, you turn a simple download into a long-term productivity asset. Whether you are creating one invitation or a series of classroom posters, the School Supplies Set Clipart Vector provides the raw materials to execute your vision with consistency and quality—without starting from scratch every time.